How to Choose the Right Box Sleeves for Your Products?
Choosing the right box sleeves can make a packaged product easier to recognize, open, and remember. A sleeve may wrap a soap carton, a candle box, or a small food package. In each case, it needs to fit the box closely without buckling at the corners. Even a few millimeters can affect how neatly it slides into place.
Start with the product and the box, not the artwork. Measure the box after filling, since packed products can change its shape slightly. Check the sleeve’s width, height, overlap, and opening direction. Then consider paper weight, coating, and print finish. A matte surface can feel understated; a glossy one may bring colors forward. Neither is automatically better. The right choice depends on the product, handling, and the look you want customers to notice.
There are trade-offs. Thicker stock may feel sturdier, but it can be harder to fold or apply on a fast packing line. A tight sleeve can look crisp and still tear during application. Test a sample. Handle it with dry hands, slide it over a filled box, and inspect the edges after shipping simulation. This small step often reveals problems that a screen mockup cannot. Sustainability claims also deserve care: ask suppliers for material details rather than relying on vague labels. No sleeve solves every packaging need. A practical choice balances fit, presentation, cost, and reliable production.
What Box Sleeves Are and How They Fit into Product Packaging
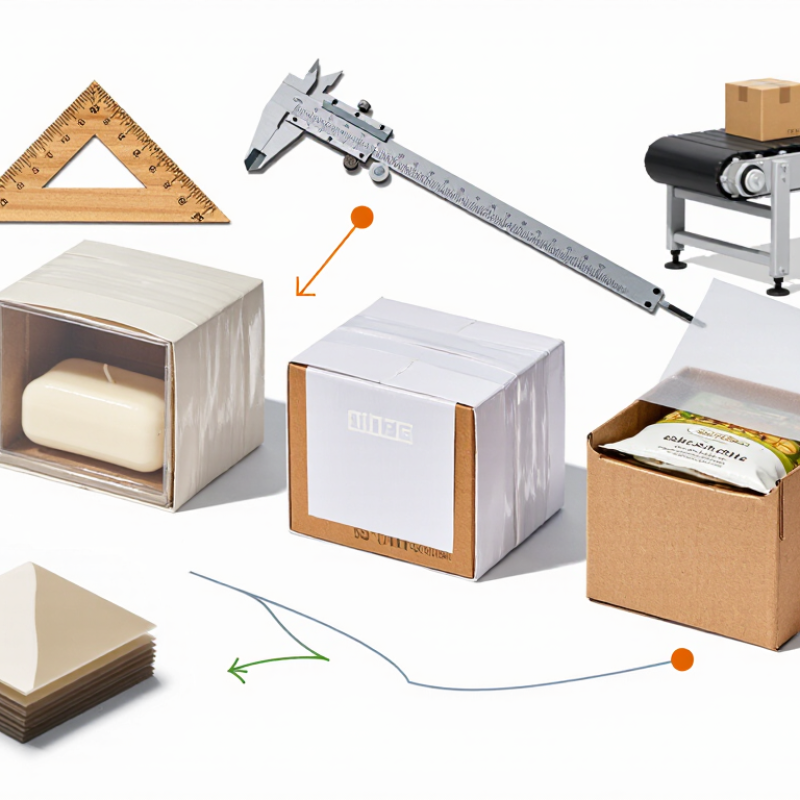
A box sleeve is a printed band that wraps around a product box, tray, or grouped items. It can add color, instructions, ingredients, or a tamper-evident seal without replacing the main package. Picture a paperboard strip sliding over a soap box: the box protects the product, while the sleeve carries the visible message. Sleeves may be paperboard, kraft paper, or flexible film, depending on the product and packing line. They are especially useful when a plain carton needs a seasonal design or clearer shelf identification.
Fit matters.
A sleeve that is too loose can shift during shipping; one that is too tight may buckle at the corners or slow packing. Measure the finished package, including its widest points, then test a physical sample on the actual product.
The U.S. EPA reported that 96.5% of corrugated boxes were recycled in 2018, based on its national materials data. That figure does not mean every sleeve is recyclable: material combinations, coatings, and local collection rules can change the outcome. A sleeve can reduce the need for a fully printed outer box, but it is not automatically the lower-impact choice.
Tips:
Keep the sleeve simple. Check the opening direction, seam placement, and how easily staff can apply it. Print a test run, rub the ink, and slide the sleeve on and off several times. Small flaws show up fast. Then confirm the chosen material with your packaging supplier and local recycling guidance.
How to Match Sleeve Dimensions to Your Box and Product
How to Choose the Right Box Sleeves for Your Products?
How to Match Sleeve Dimensions to Your Box and Product
Measure the assembled box, not its flat dieline. Record its length, width, and height, then check the product inside for bulges or pressure points. A sleeve should slide on without scraping corners, yet stay snug when the box is lifted. For a rigid carton, test a sample sleeve around the fullest section; small differences in board thickness can change the fit. Leave enough clearance for easy application, but avoid loose edges that twist during handling.
That balance matters beyond appearance. The U.S. Environmental Protection Agency’s Advancing Sustainable Materials Management: 2018 Fact Sheet reports that containers and packaging made up 82.2 million tons, or 28.1% of U.S. municipal solid waste. Right-sized packaging can help avoid unnecessary material, though a sleeve alone cannot solve packaging waste. Measure several production samples, since folds and coatings may vary slightly. I would not trust one perfect prototype.
Tips: Add the box’s measured thickness to your layout, then test a sleeve on a packed box. Check corners, seams, and the opening edge. A tiny gap can become a visible wrinkle.
How to Evaluate Protection, Branding, and Unboxing Needs
A box sleeve should protect the product without pretending to replace its inner packaging. Check that it fits snugly, stays closed during handling, and resists scuffing at corners. A sleeve that slides after a few parcel movements can expose the box beneath it. Test a finished sample with the actual product inside, including a basic drop and vibration test aligned with relevant ISTA procedures. Feel the edges, too; sharp folds can catch during packing.
Branding works best when it survives the journey. WestRock’s 2018 Packaging Matters report found that 81% of consumers had tried a product because its packaging caught their eye. Keep key details readable on a curved or narrow sleeve, and check that ink does not rub off against neighboring cartons. A slight color shift between print batches is easy to overlook. It still matters.
Unboxing is a practical moment, not just a photo opportunity. The 2016 Dotcom Distribution eCommerce Packaging Report found that 40% of consumers were more likely to share an image when an order arrived in gift-like or branded packaging. Consider how the sleeve pulls off: does it reveal the product cleanly, or snag on a lid? Keep opening simple. Extra layers can feel special, but they also add waste and packing time. That trade-off deserves a real test.
How to Compare Costs, Sustainability, and Supplier Capabilities
When comparing box sleeve costs, look beyond the price per piece.
Ask whether setup charges, minimum order quantities, freight, and storage are included. A low quote can become expensive if you must order more sleeves than you can use. Request prices at several quantities, then compare the cost per sellable package. Check how the sleeve fits over your actual box, too. A loose fit may slide during shipping; a tight one can crease at the corners. Small details matter.
Sustainability claims need evidence.
Ask for the paper’s recycled content, its source, and whether coatings or laminates affect disposal options in your market. Compare material weight as well: a lighter sleeve may use less material, but only if it stays intact through handling. Request a sample and test it around a filled box. Feel the surface. Check for ink rub after a few passes. I would not assume that “paper-based” automatically means easy to recycle; local collection rules and finishes can change the outcome.
Supplier capability is practical, not just persuasive.
Ask for a production sample, written tolerances, realistic lead times, and the checks used to catch color or cutting errors. Find out how the supplier handles a delayed shipment or a batch with uneven folds. A clear answer is reassuring. Vague promises are not. It is also worth admitting that one test sample cannot predict every production run, so agree on approval steps before placing a large order.